Walmartlabs recently released OneOps into the wild as an open source project. Walmart’s OneOps is a Application Lifecycle Management tool that abstract most of the complex task of packaging, deployment, provisioning in all environments and is meant to give developers control over their own deployments. OneOps was a result of Walmart’s fear of over reliance on one particular cloud-provider or technology. As such OneOps acts as an abstraction buffer between all the underlying cloud, deployment technologies and the user. In the next few posts we will take a closer look at OneOps and a few of its offerings.
You can read all about the advantages of OneOps at their home page here. There are two ways to try out OneOps quickly one is on the Amazon Cloud through the ready made AMI and second is through the Vagrant Image provided by the OneOps team. The Amazon Cloud image is the quicker one and all you need to do is spin up an instance, follow the instructions on their getting started page and you are up and running. The Vagrant image is a bit more involved but also give your a bit more freedom to play around if your install it on a laptop as I did.
Under the hood OneOps is a behemoth with Ruby, ActiveMq, Postgres, Cassandra, ElastiSearch, LogStash, Chef, Tomcat and a few other odds and ends running to keep it humming.
The Vagrant Image:
Before you try the Vagrant Image make sure your VirtualBox software is up to date. Don’t even think of trying it on Windows box. It won’t work. You have to have either Linux or Mac. I tried it on both and it worked.
git clone https://github.com/oneops/setup

cd setup
At this point, tune your Vagrantfile before running vagrant up. In particular give it as much memory as your can. It has to have 8GB memory or more. Also by default it will take only 1 CPU. In the Vagrant file find the lines below and add the cpus part.
config.vm.provider "virtualbox" do |vb|
     # Display the VirtualBox GUI when booting the machine
     vb.gui = false

     # Customize the amount of memory on the VM:
     vb.memory = "8192" # 8GB Plus whatever more RAM you can spare.

     vb.cpus = <half the number of cpus of your machine>
end
Now run vagrant up. Once the box is built your shiny new OneOps installation will be available at http://localhost:9090 on the host OS or http://localhost:3000 in the guest OS since it’s a Rails App. You will now have to create a user by clicking Sign Up. 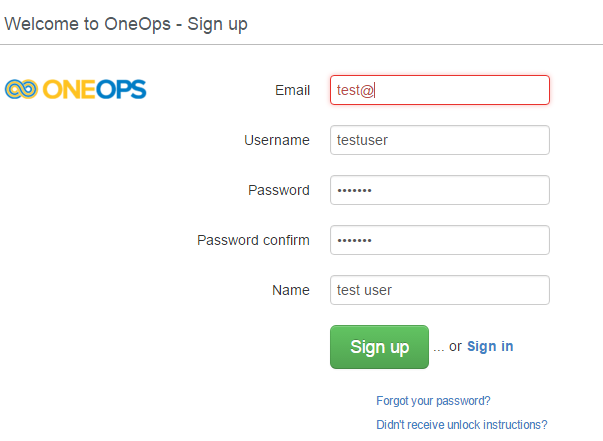
Once done you can now sign in as that user. You will now have to either create an organization or you can join an existing organization. 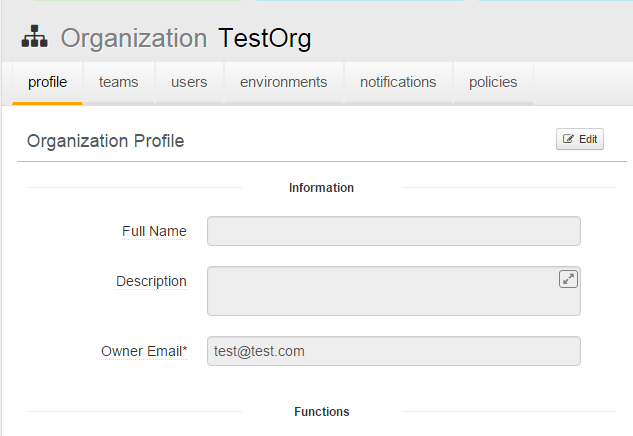
And this is where the complexity and learning curve of OneOps ramps up. You now have to start learning various concepts, terms and OneOps’s extremely opinionated way of doing things. Here are a few of these concepts almost all of which neatly fit under the umbrella of your Organization that you just created.
- Clouds – The first thing that you will do after creating an organization is add a cloud. You can add a public cloud or a private cloud. It is important that you select the correct cloud as under the hood it comes pre-populated with a lot of settings for you.
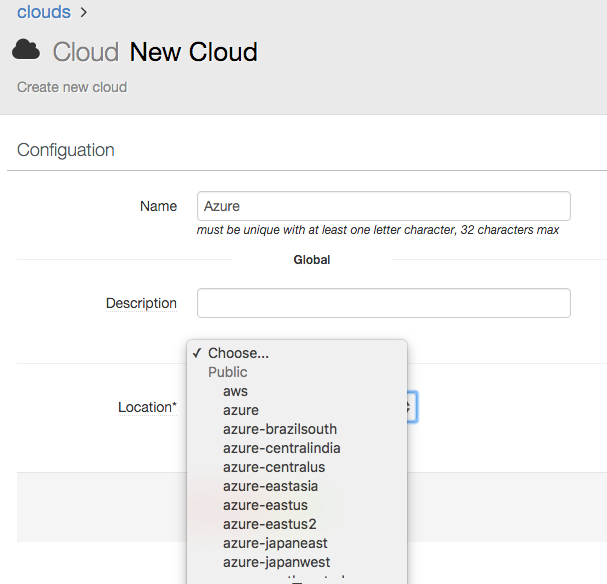 One good thing is orchestration engines like docker and vagrant can also be chosen as clouds.
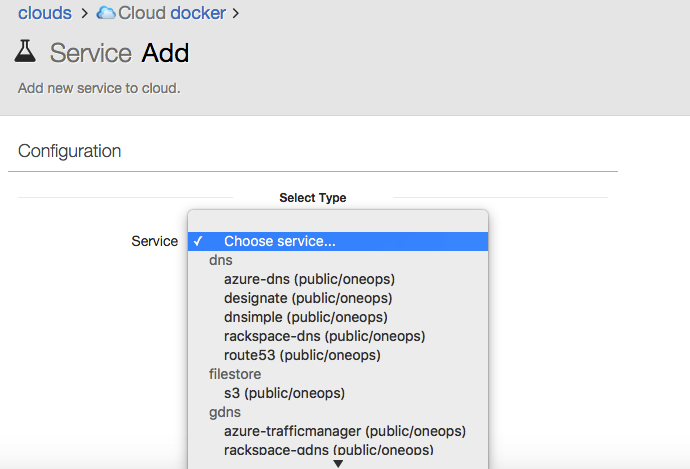
 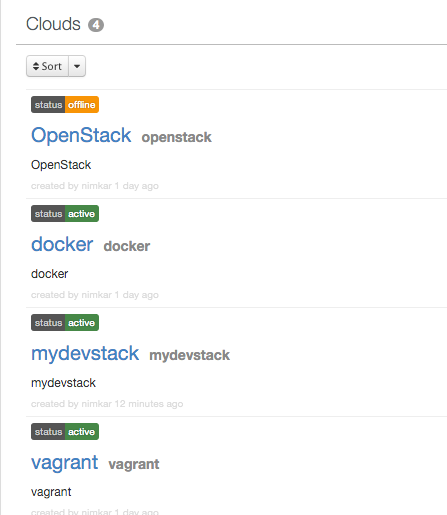 However adding a cloud by itself is like just adding a label and does not do anything. To make a cloud functional, you have to add services under the cloud. You can select a service from the available list.
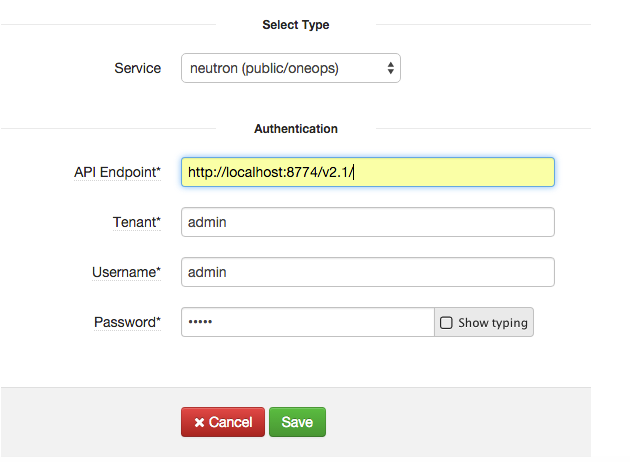
  Once a service is added, provide the necessary details to enable the OneOps to communicate to the service.
- Assembly – Next you will want to try your hand at creating an assembly. Think of an assembly as everything needed to “assemble” your application from scratch no matter where it is getting deployed be it 1 docker instance or 1000 amazon servers. One your create an assembly, which consists of just giving it a name, you actually start adding functionality to it by adding platforms to it.
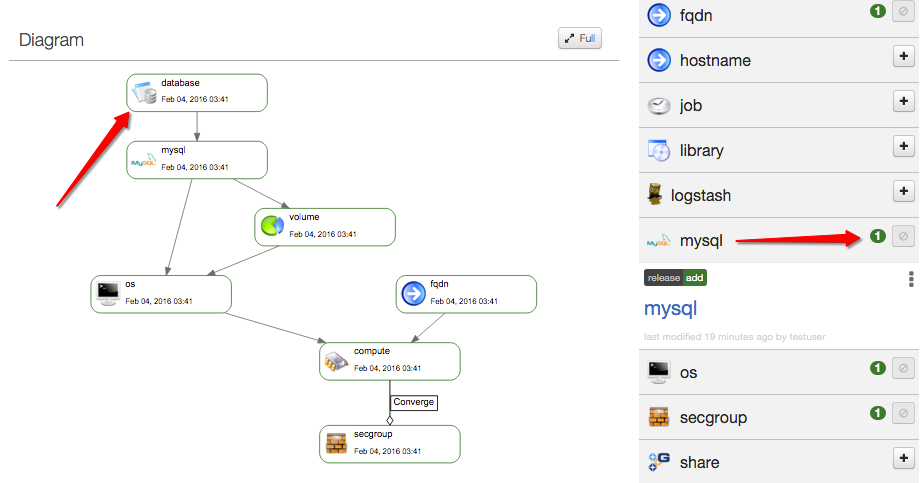
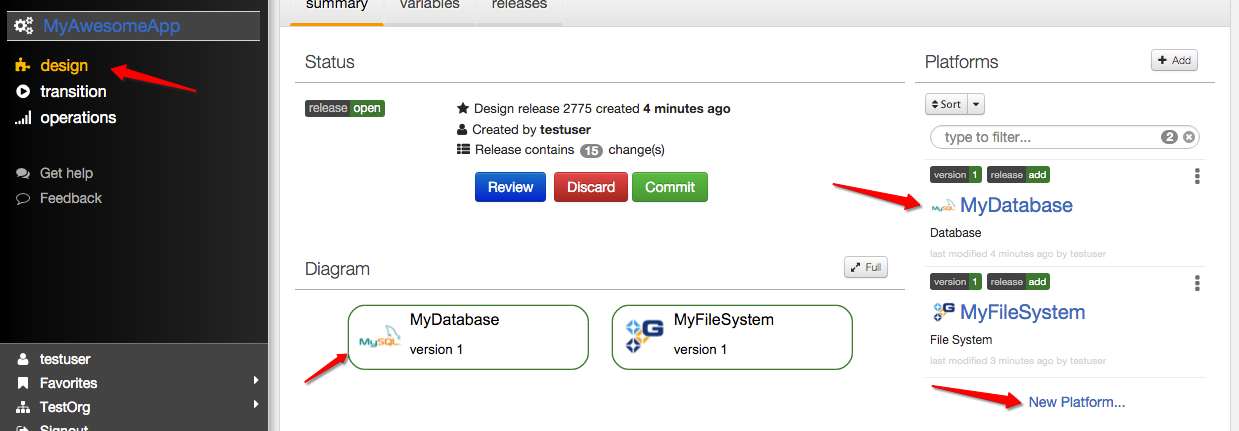 As you can see in the image above, I created an assembly called my awesome app which consisted of a MySql database which I called MyDatabase and a GlusterFS file system which I called MyFilesystem. Clicking on any one of the diagrams will show all the actions that OneOps will take to actually deploy that component of the assembly. A green circle on a component means something needs your manual input and you need to fill it out. E.g. the MySql database shows a green circle because you need to set the root password.
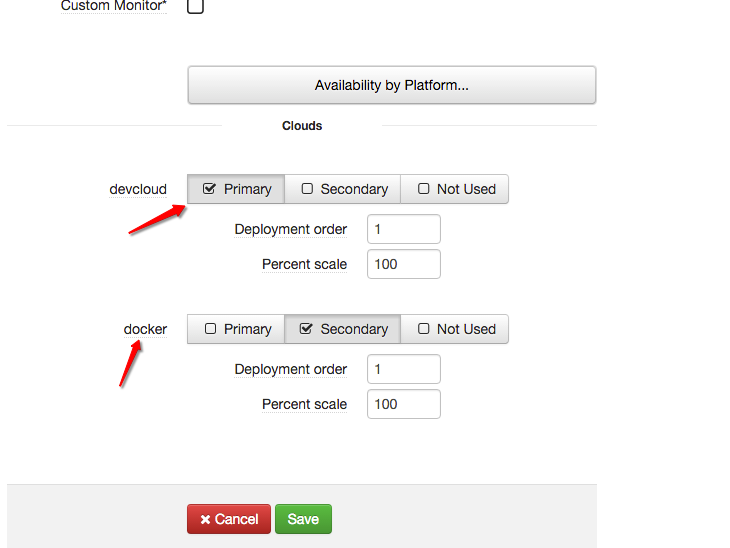
- Transitions – Once your assembly is ready, you can transition it by setting up environments. To set up environments you should have clouds setup first. You can setup multiple environments with different targets. E.g. I created a development environment pointing to an OpenStack cloud running in a VM and a UAT environment running in Docker. Not all my transitions were successful though. More on that a bit later. You can also have a secondary target in place for deployment.
 All that remains now is review, commit and deploy. Committing will generate a deployment plan but won’t actually deploy anything till you actually click deploy. Committing also versions all the changes you make to your assembly allowing you to easily rollback to a point before you had that bright idea.
 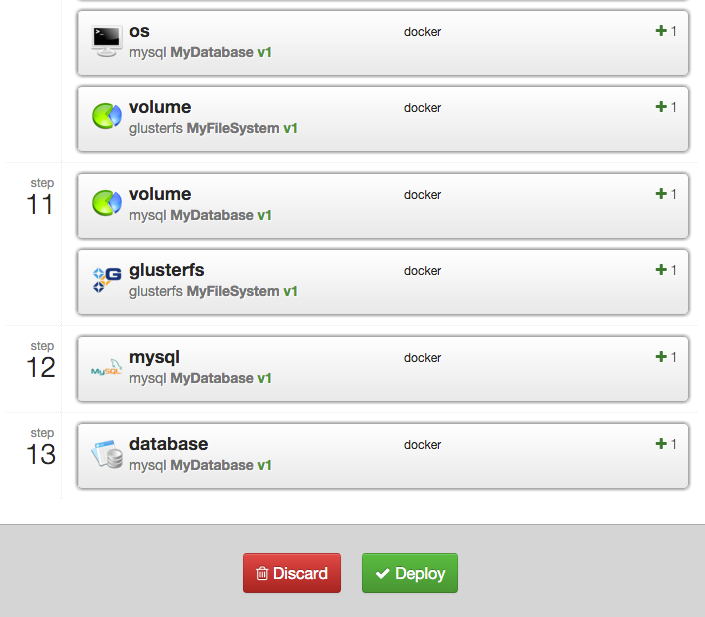 Actually clicking on deploy will start the deployment. In our case it will deploy to both the docker and openstack cloud the exact same assembly. An active deployment must be paused before it can be canceled. For deployments under the hood, OneOps calls Chef cookbooks. I will go into OneOps architecture in detail in another blog post.
 - Monitoring – Once your assembly is deployed or deployment is in progress, you can monitor it by clicking on Operations on the left hand side. Click on your assembly name and you can see various details. The bar shows the deployment progress. The red portion shows approximately how many components failed deployment. You can also click the assembly name to see the details of the deployment and the log messages of each component.
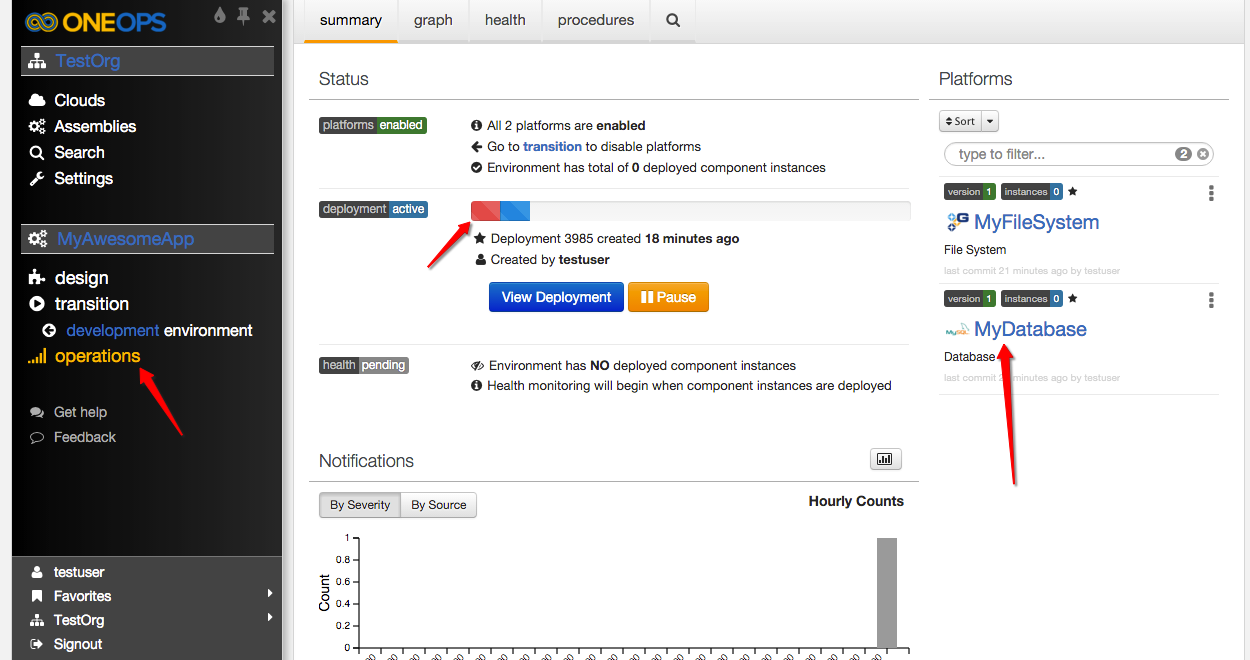 You can also click on individual components like your database and the file system to set some individual options. Two very import and useful features provided by OneOps are AutoRepair and AutoReplace. AutoRepair will try and repair a component after it detects a component is unhealthy after a certain threshold. AutoReplace will try to completely replace that component with a fresh copy. AutoReplace is off and AutoRepair is on by default.
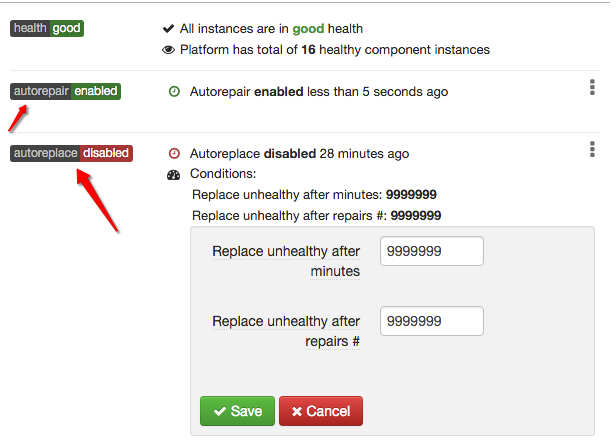
This was a brief walkthrough of how a developer would go about provisioning environments for themselves using OneOps. Besides these OneOps has tons of other features. Organizations can have teams, groups with different roles and policies. You can also create custom deployment cookbooks in Chef, custom packs, custom clouds lot of which I will cover in coming posts.
In my couple of days playing around with OneOps, I also ran into lot of weird bugs and glitches. All 3 of my installations were not smooth forcing me to bust out my sonic screwdriver and diving into the innards of the tool causing me to learn a lot about it which, I guess, is the point of a Open Source tool. I also learned that not everything is included. For e.g the CLI needs to be downloaded separately and compiled ( and the compilation fails, see the first bug I filed on github) from https://github.com/oneops/cli. And if you want really good documentation you can download from here https://github.com/oneops/oneops.github.io but that’s not mentioned anywhere on the website. I had to go spelunking into github to dig that out.
If anyone else out there is playing with OneOps, leave a comment below. I would love to hear your experience.
Who manages all the Chef recipes behind the scenes? Do the developers or DevOps maintain all of these? Sounds like it doesn’t solve the problem that every app is a snowflake and seems a bit complex. What are your thoughts?
The recipes themselves are on github like the other code. If you have your own private installation, you can follow the same model and host your recipes in version control where everyone can make modifications to them including DevOps and Developers. The promotion to production can then go through your CI/CD pipeline after it passes through gates just like any other code. Usually the gatekeepers are the DevOps team.
I run OneOps vagrant image on Windows just fine. After all it just spins up a Linux VM on your Windows host, using VirtualBox hypervisor. The key is to tell your git software to not replace Linux end-of-line symbols – LF with Windows ones – CRLF. By default when you clone the project from github git does that and now all your shell files have CRLF symbols in them, and the guest system (CentOS) does not understand windows-style EOL symbols.